Showing posts with label glitter. Show all posts

Saturday, 20 September 2014

Claire's Fabulous

After being so impressed with my haul from Claires a little while ago, I went back and bought this beautiful glittery polish called Fabulous. It definitely is fabulous, especially as a glitter gradient!

Fabulous consists of tiny micro glitter in gold and red, larger pink hex glitter and golden square glitter. All in a clear base.

I used OPI Steady As She Rose as the base, and I love the colour combo! It's so girly and festive, yet elegant, even though it's a glitter combo!

Gradients are my favourite type of nail art, both with cremes and glitters. it's so easy to do!

Although I didn't put a coat of the polish straight onto my nail, I know there are no problems with glitter placement. For the gradient I brush one stroke onto a sponge and just dab it up and down. I didn't have to fish any specific glitters out, it was really dense and there was a ton of glitter on my sponge.

What do you think of the Claire's nail polishes? Will you by trying them out?
xx Elaine

Tuesday, 16 September 2014

Mod Lacquer - Paranormal Paradise

Shade
Last month the Indie Brand Mod Lacquer posted on their Instagram page that they were looking for swatchers, and of course I was interested. Jennifer, the creator of Mod Lacquer, makes the most amazing holographic nail polishes I've ever seen, but she also makes a ton of unique super sparkly glitter combinations. It's a 3 free hand blended nail polish brand.

I received three nail polishes to try out: High Strangeness, Aerial Phenomenon and Paranormal Paradise.

I decided to dedicate a different blog post to each nail polish, since I took about 100 photos of each of them.....

Sun


The third polish is this glitter bomb called Paranormal Paradise. This is a multi-size, multicolour holographic glitter polish in a clear base with large holographic circles in various colours.... I took that directly off of Mod Lacquers Etsy description... there is so much in this polish!!

The base keeps the glitter suspended so little to no settling occurs.
Sun
Here is my description of what I can see: it has teeeeeeny tiny little silver holographic dust glitter, some slightly larger micro glitters in pink and blue. Some slightly larger green holographic hex glitter, and even larger pink holographic hex glitter, and then some super large circle holographic glitter in various different colours.

Sun


The photo to the right shows the same large holographic circular glitter in different angles.

I used one coat of Paranormal Paradise for all the photos. All the glitters were easy to get out, apart from the large holographic circles, I kind of had to fish them out and place them on my nail.

I love how the glitters look over different bases. I think the dark blue and the pink look the best!

The mini's retail for only $4 (US) and the full size polishes cost $11(US). Luckily for us UK girls, Mod Lacquer ships internationally! 

Mod Lacquers new Fall/Autumn collection The World's Fair will be released on Friday September 19th at 9 PM EST! 

What do you think of this glitter bomb? Check out Mod Lacquers Etsy for more glitters and holograph nail polishes!

Tuesday, 8 July 2014

Kiko 530

Last month I went to Westfield in Stratford and bought a whole bunch of polishes, including this BEAUTIFUL Kiko nail polish 530. Kiko isn't a brand I'm too familiar with, but I do know they have a lot of nail polishes and are very cheap. That's the only thing that's important right?!

Anyway while browsing through the tiny shop, this nail polish caught my eye and I couldn't resist. I had to get it. I believe it was only £2.90. I swatched it on a nail art wheel as soon as I got home and haven't really touched it since.... It's just been standing on top of my nail polish drawer (alex from ikea) looking pretty.

Be prepared... there are a lot of photos!

Sunlight 


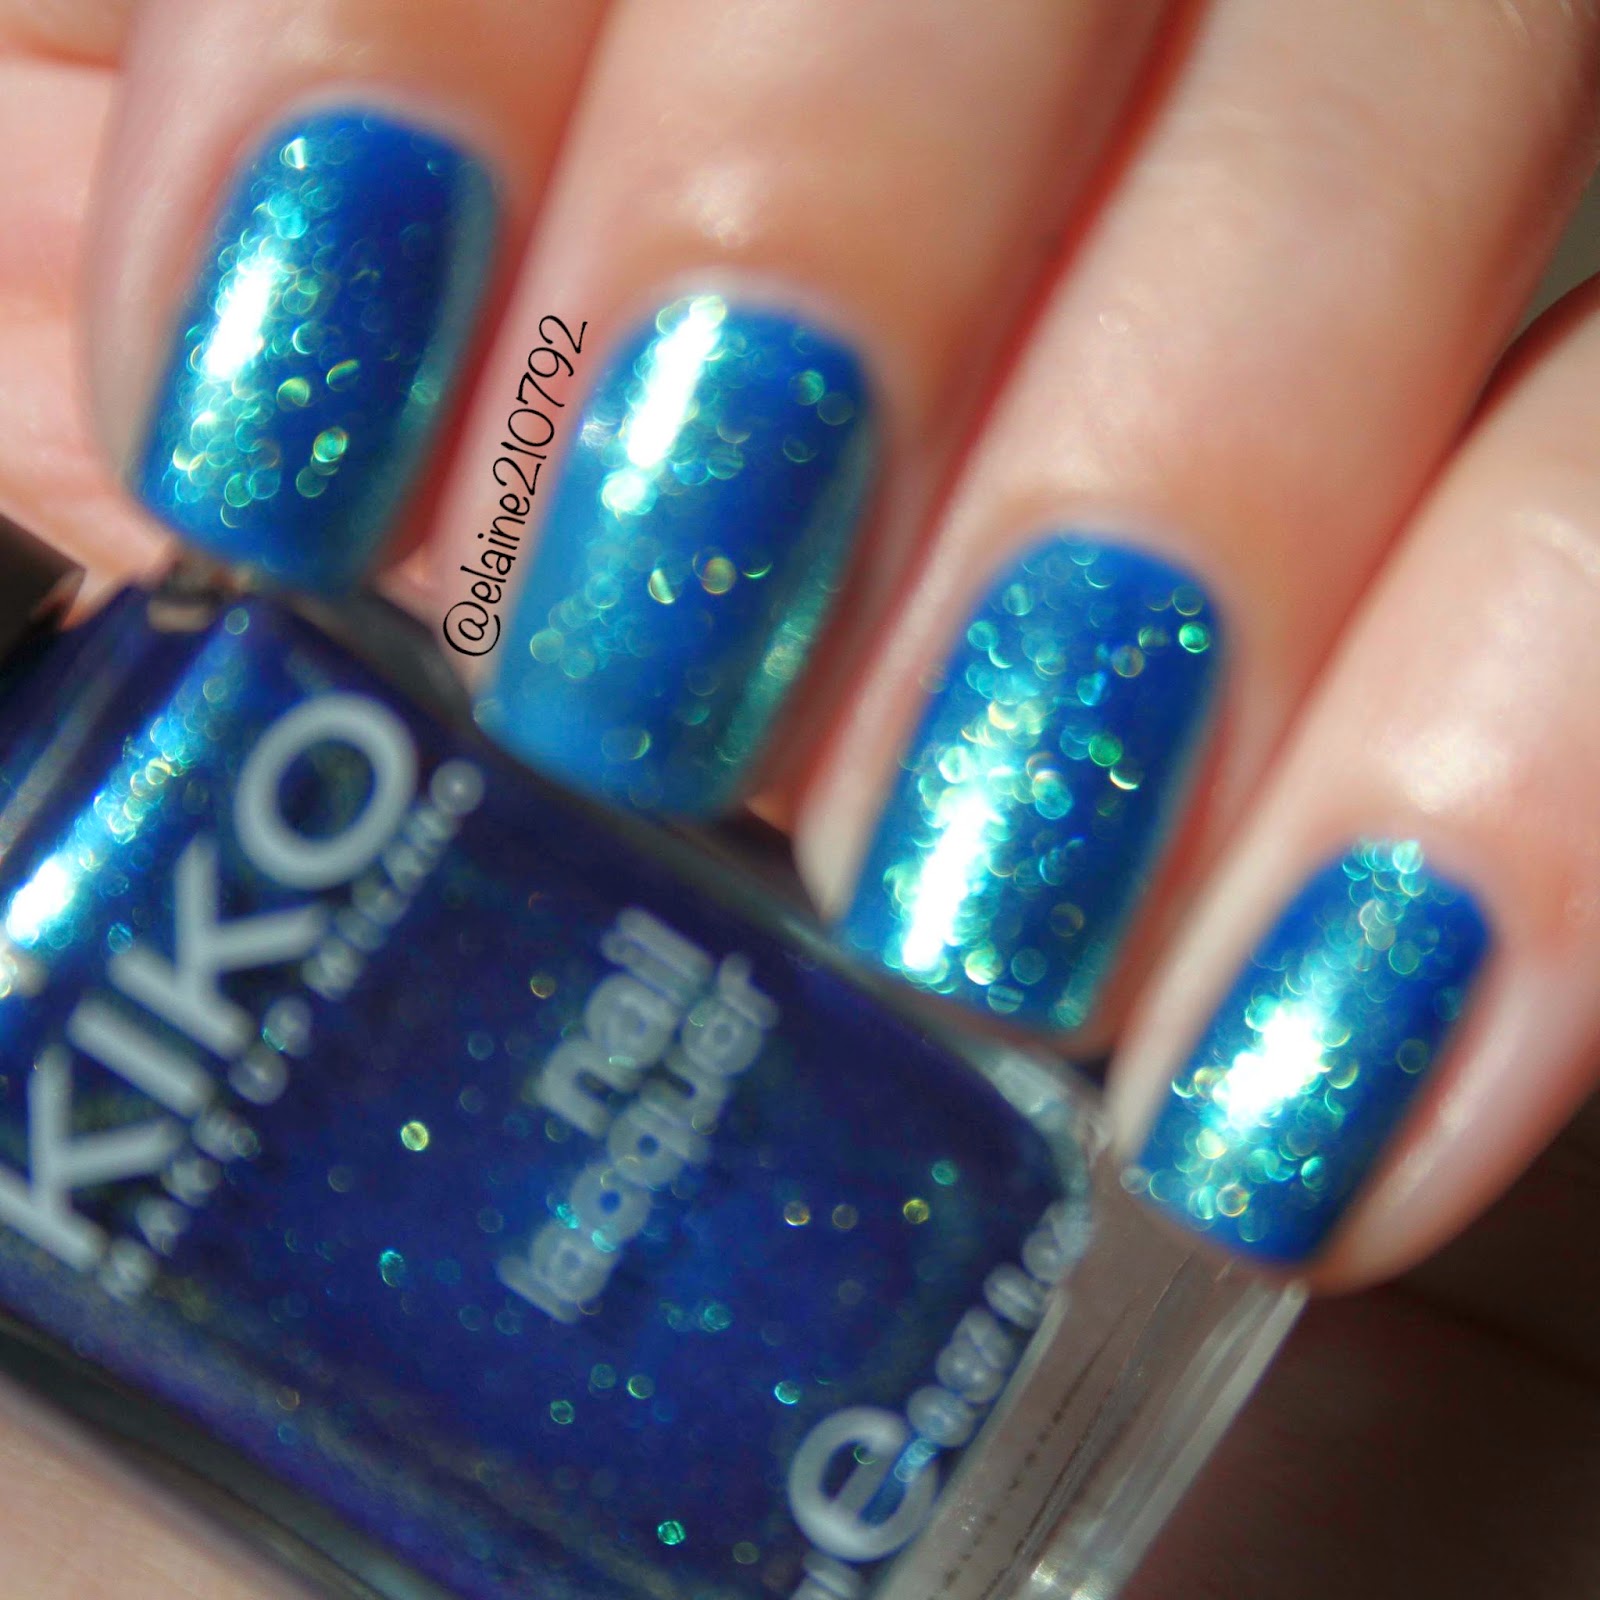
Kiko nail polishes don't have names, just numbers and this is number 530. It's a blue jelly polish packed with flakie shimmery golden glitters. The photos make it look more blue but in real life it's much more green, like the bottom right photo in the set of photos above.
Sunlight
I've taken a billion different photos, in the sun, blurry, in the shade, different hand positions, macro, not macro etc. I couldn't stop.

Look at those sparkles!!
Sunlight


From different angles the polish looks different. In the shade the golden specks come out more and in the sun it goes radiates. The photo to the right shows how blue it can look.

shade
The formula was amazing. even though it's a jelly base, it's very opaque and I only needed two coats. There isn't any fishing either, its so packed full of flakie glitters you don't need to worry about that!


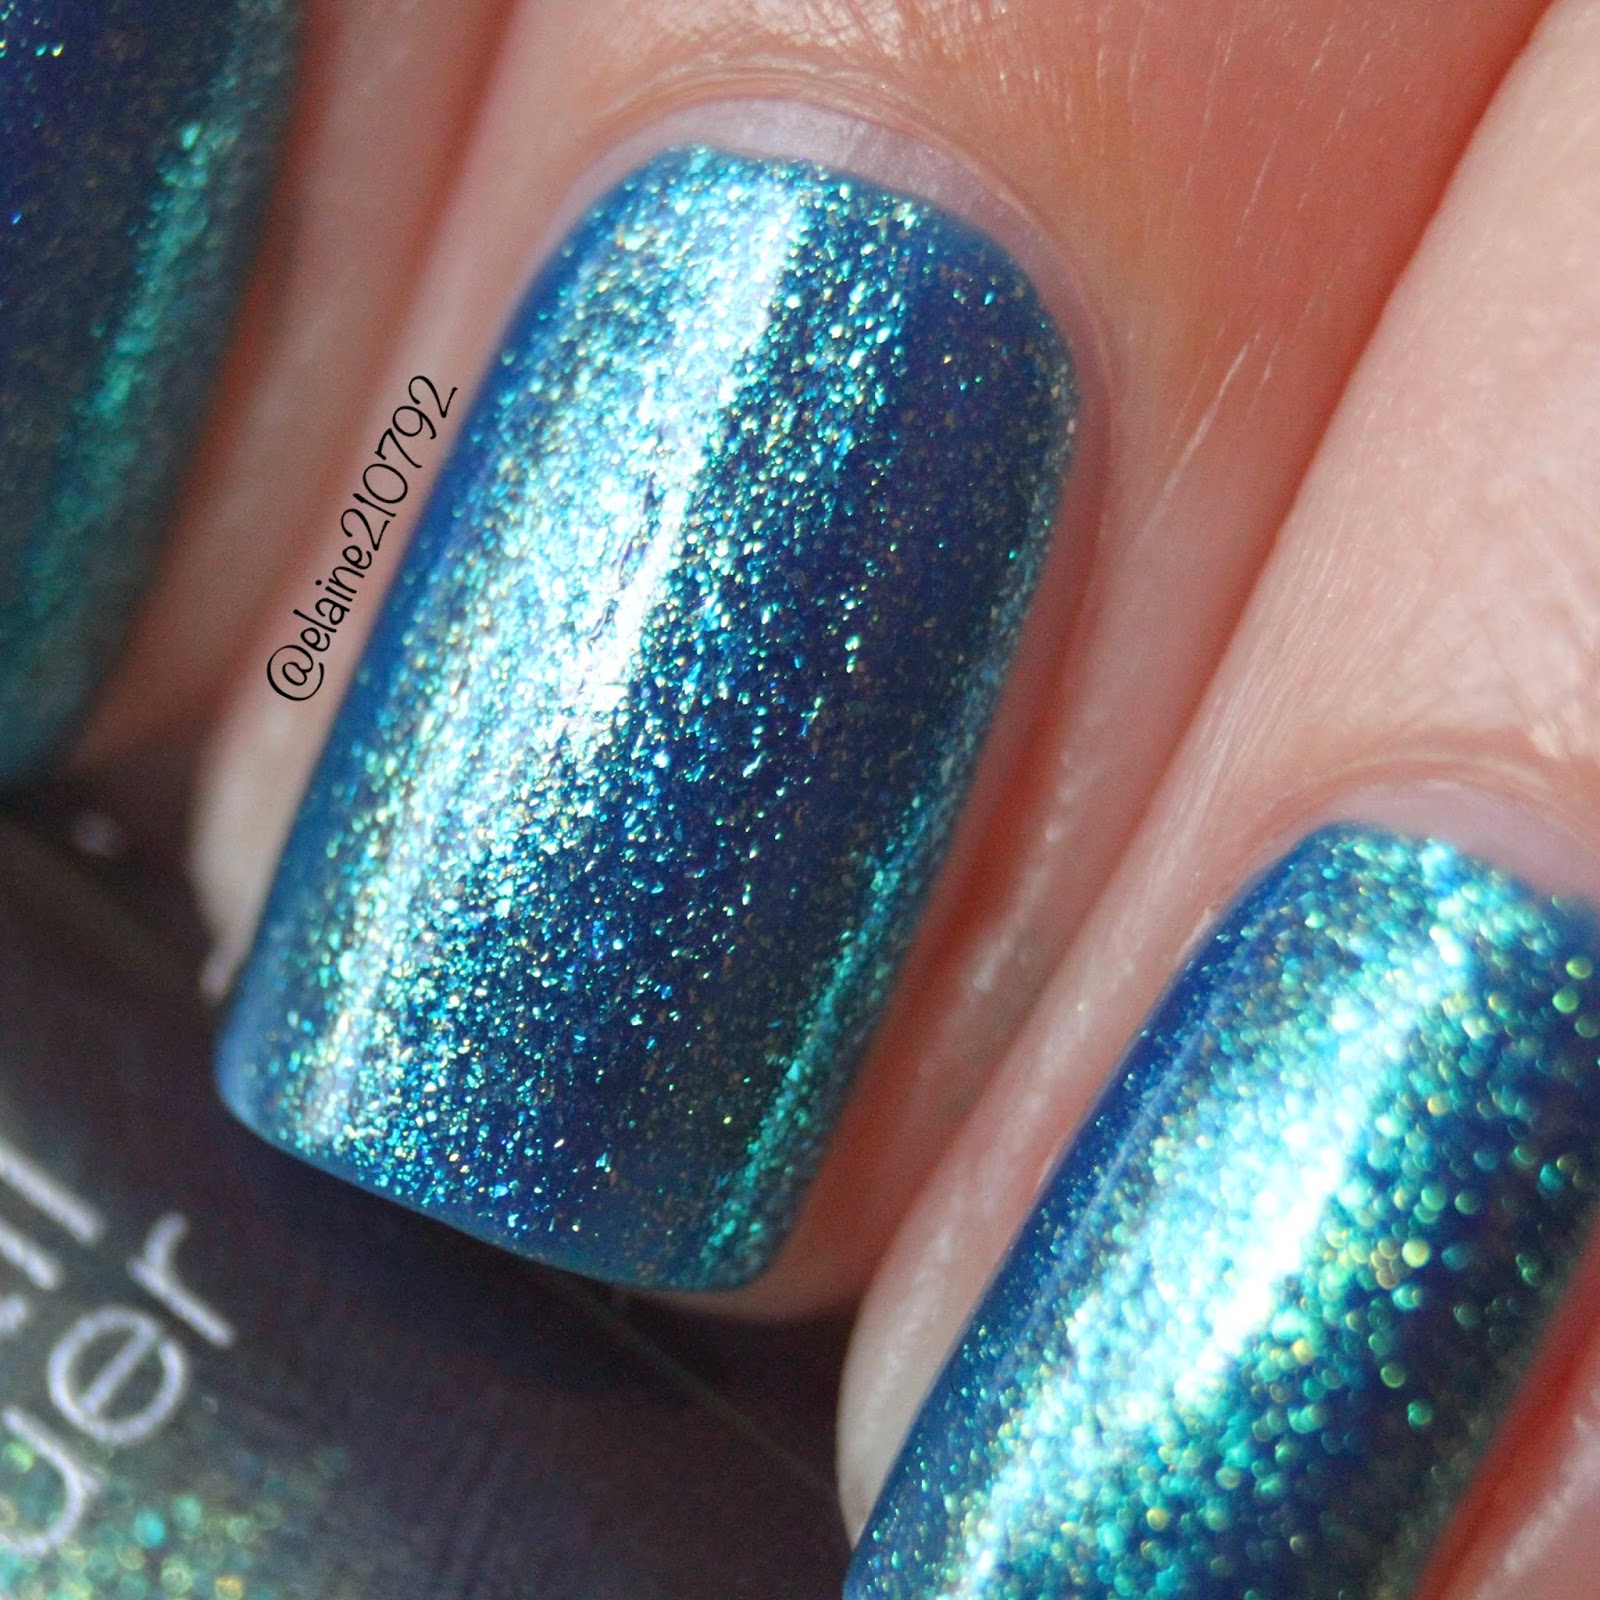
The photo to the left is taken in the shade with a macro lens, you can really see the golden flakie glitters. and that they reflect green.

Sunlight


Blurring the photos really show the sparkle. It's incredible!

Sunlight 


I could continue taking photos forever, it's just so beautiful! And the best thing is, is that I used my peel off base coat so I didn't have to worry about taking it off before work!
Sunlight


Last one.. I promise.

What do you think of this colour? Have you tried any Kiko polishes before?

xx Elaine

Wednesday, 2 July 2014

DIY Peel Off Base Coat

I have never been a huge fan of glitter and that's because it's such a pain to take off! When OPI brought out their peel off base coast I immediately wanted it. Unfortunately I couldn't find it anywhere in Australia, and being back in the UK it was still tricky. I finally managed to find it online and it cost £16.95! That's a little pricey... so I decided to look into making it myself. I had heard a lot about it, but never really thought about trying it. I recently starting getting back into glitter polishes and want to wear them, without having to worry about taking them off!

I had an almost empty Seche Vite bottle laying around so I emptied and cleaned it. I poured out any remaining product and added a bit of nail polish remover and slowly moved it around the bottle. I did this about three times and then filled it up with hot water. This got rid of any remaining product and nail polish remover. I cleaned the brush with acetone and used a little nail art brush to clean the inside of the lid.

I then poured in some modpodge, which is basically watered down elmers glue. That's it! Super easy, and I already had everything in my house so free!

Now let's see how it works...

I applied one coat of the polish on all 4 nails. It applies like a very streaky white polish, as you can tell from my pinky in the top photo, but dries completely clear, as though I'm not wearing anything (bottom photo). It only takes a couple minutes to dry.

I then applied two coats of Gloucester Walk, a super dense chunky mixed glitter. I'd literally never dare wear anything like this.. It's a mix of smaller golden glitters and larger copper glitters (see close up below). It's a very reflective polish, so for the macro shots it looks like there are black glitters in it, that's just the reflection of my camera.

The nail polish applied really smoothly for such a densely packed glitter and only required 2 coats to be fully 100% opaque.


I waited about 2 hours before removing the nail polish. This gave the modpodge time to completely dry. I used my finger nail to slowly start pushing the nail polish off from the bottom of my nail. You can also use a cuticle pusher. Once it lifted, you can pull the nail polish off. There were a couple little bits of glitter than didn't come off the first go, but I just pushed those off once the majority was pulled off.

It was so easy and it makes me excited to start wearing glitter polish again! The photo to the right is right after I took the polish off, before washing my hands. My nails don't look damaged at all!

Will you be making your own peel off base coat?
xx Elaine